This time we will be using the "mini" gizDuino. From the root word "mini" it is a small version of the more popular gizDuino X
Here are the parts needed :
 |
| gizduino Mini |
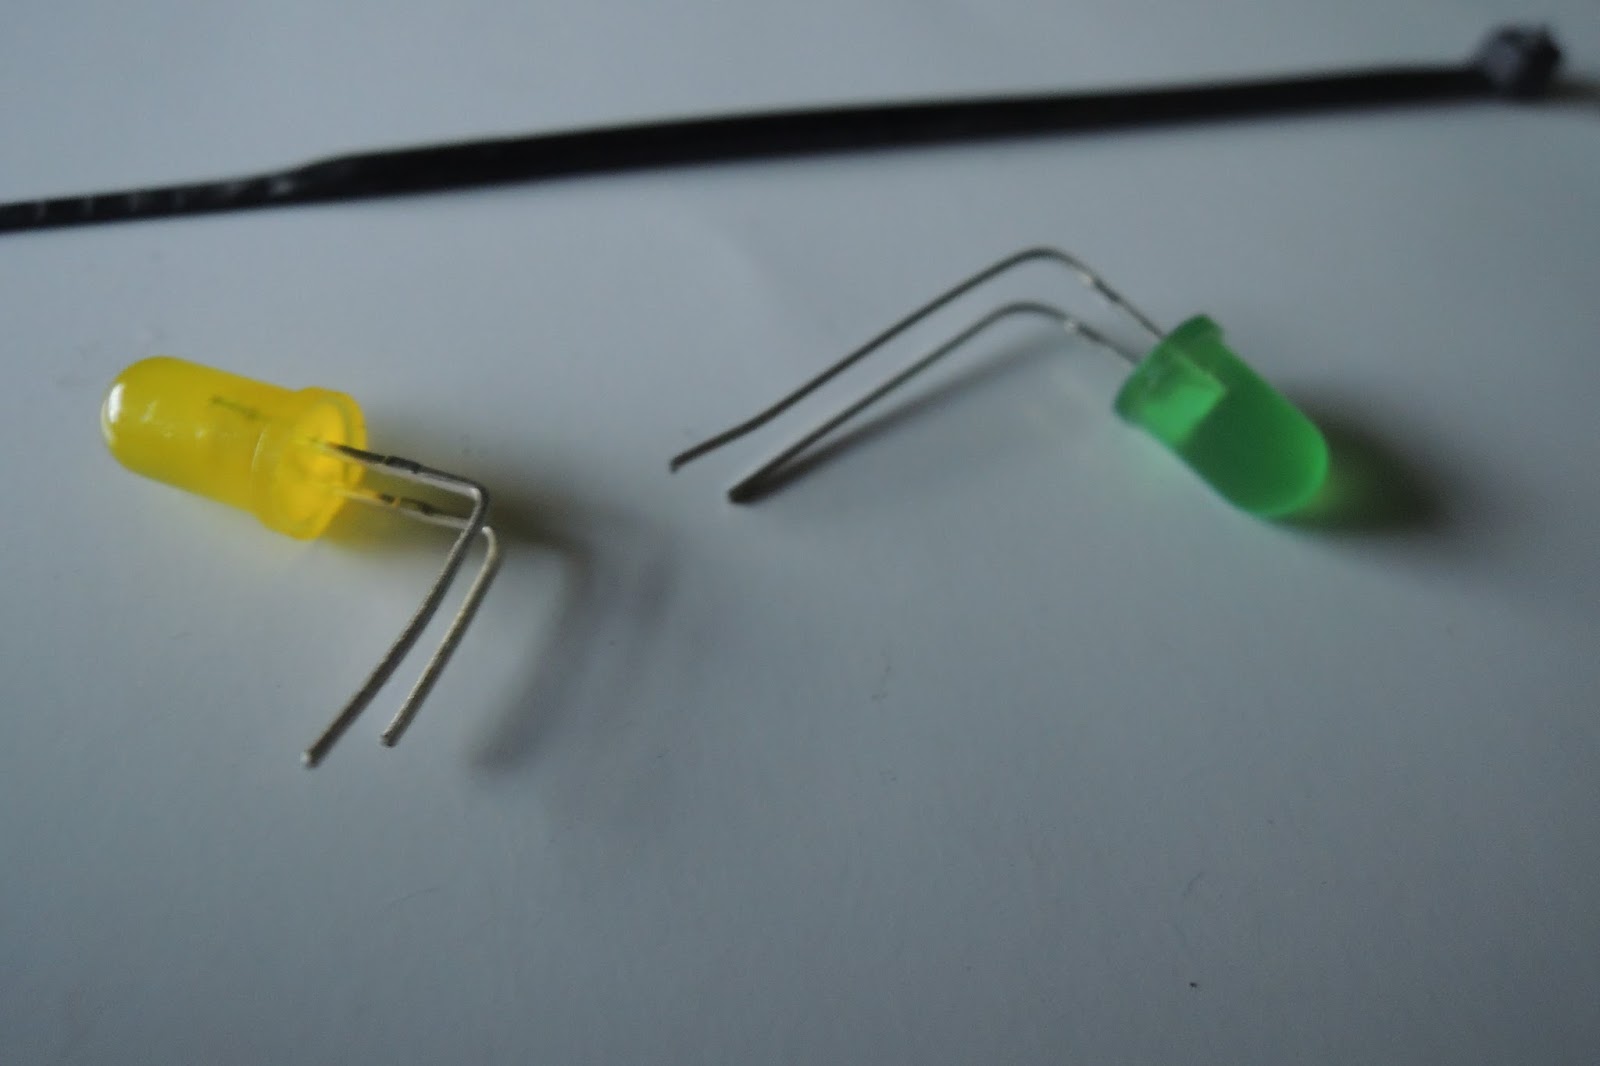 |
| LEDs |
 |
| Connecting Wires (Connector) |
 |
| L angled or any pin header |
For the servo Motor
1. Create a 3 pin connector (Red, Black, White)
2. Connect the Red to +5v and Black to Gnd

3. Connect the white to Pin 9 (For Servo Signal).
4.Connect the other end of connector to connector of the servo.
 |
| Connect the White wire to (Pin 9) |
|
| Brown=Ground, Red = +5v, Orange= Signal(to White) |
For LEDs.
1. Get two pieces of 2Pin Connector .
2. Connect the 2pin Connector to 2 LEDs


Black -> Ground
Red -> Pin 13
Green -> Pin 12


Next, we will upload the source code to GizDuino hardware
This is the source code :
#include <Servo.h>
Servo myservo; // create servo object to control a servo
// a maximum of eight servo objects can be created
int pos = 0; // variable to store the servo position
int led1 = 13;
int led2 = 12;
void setup()
{
myservo.attach(9); // attaches the servo on pin 9 to the servo object
pinMode(led1, OUTPUT);
pinMode(led2, OUTPUT);
}
void loop()
{
for(pos = 0; pos < 180; pos += 1) // goes from 0 degrees to 180 degrees
{ // in steps of 1 degree
myservo.write(pos); // tell servo to go to position in variable 'pos'
delay(15); // waits 15ms for the servo to reach the position
digitalWrite(led1, HIGH);
digitalWrite(led2, LOW);
}
for(pos = 180; pos>=1; pos-=1) // goes from 180 degrees to 0 degrees
{
myservo.write(pos); // tell servo to go to position in variable 'pos'
delay(15); // waits 15ms for the servo to reach the position
digitalWrite(led1, LOW);
digitalWrite(led2, HIGH);
}
}
code credits to : BARRAGAN <http://barraganstudio.com> With modification ;)
Make sure you selected mini Gizduino .

Also , the USBAsp should be properly installed.

You can use this guide from E-gizmo :E-Gizmo Gizduino Guide
We will now upload the code...
1. Long Press the gizDuino Reset Button if the USBAsp is not detected.
2. From the File Menu, select Upload Using Programmer.

Here is the result :)


